
Last updated September 20, 2026
Free on-site gate assessment - hinges, posts, and your LiftMaster or Nice gate operator checked before anything is quoted
The assessment is free and the quote is the invoice.

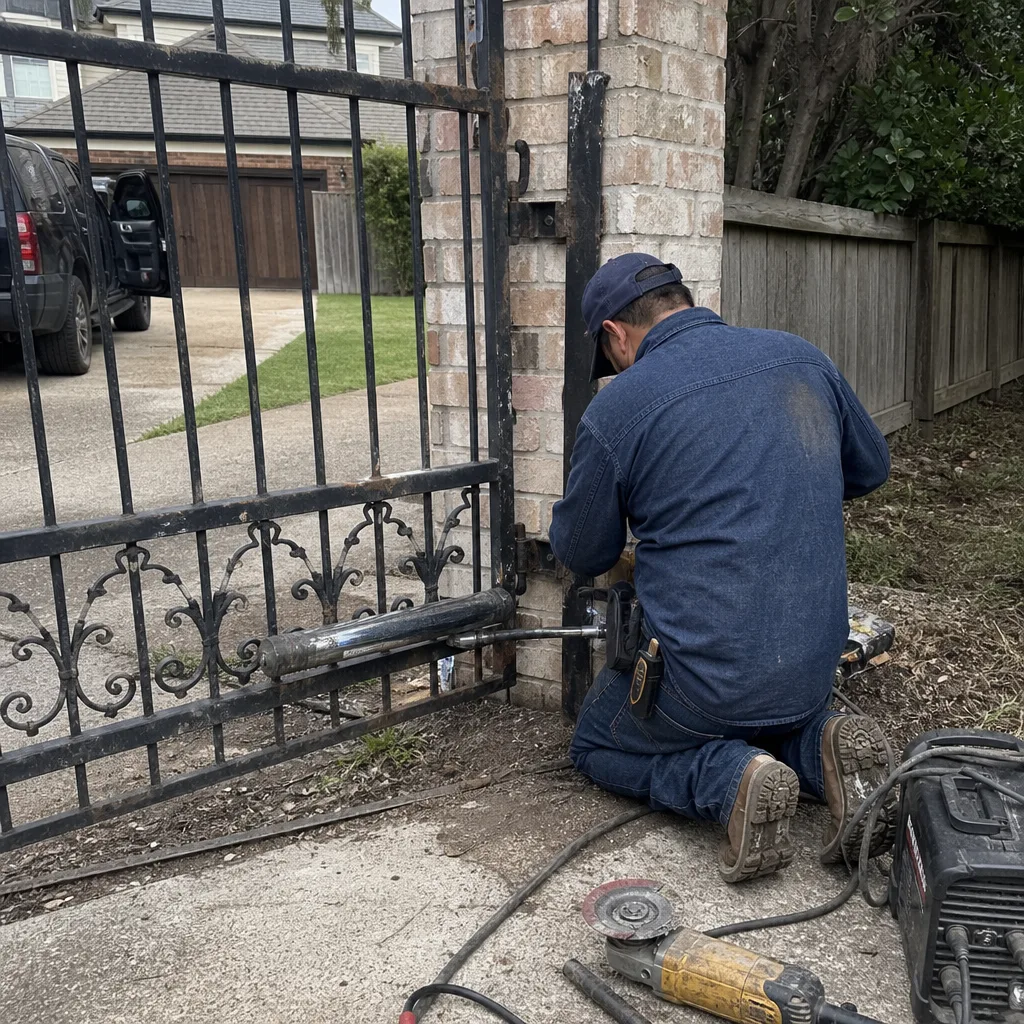 Before
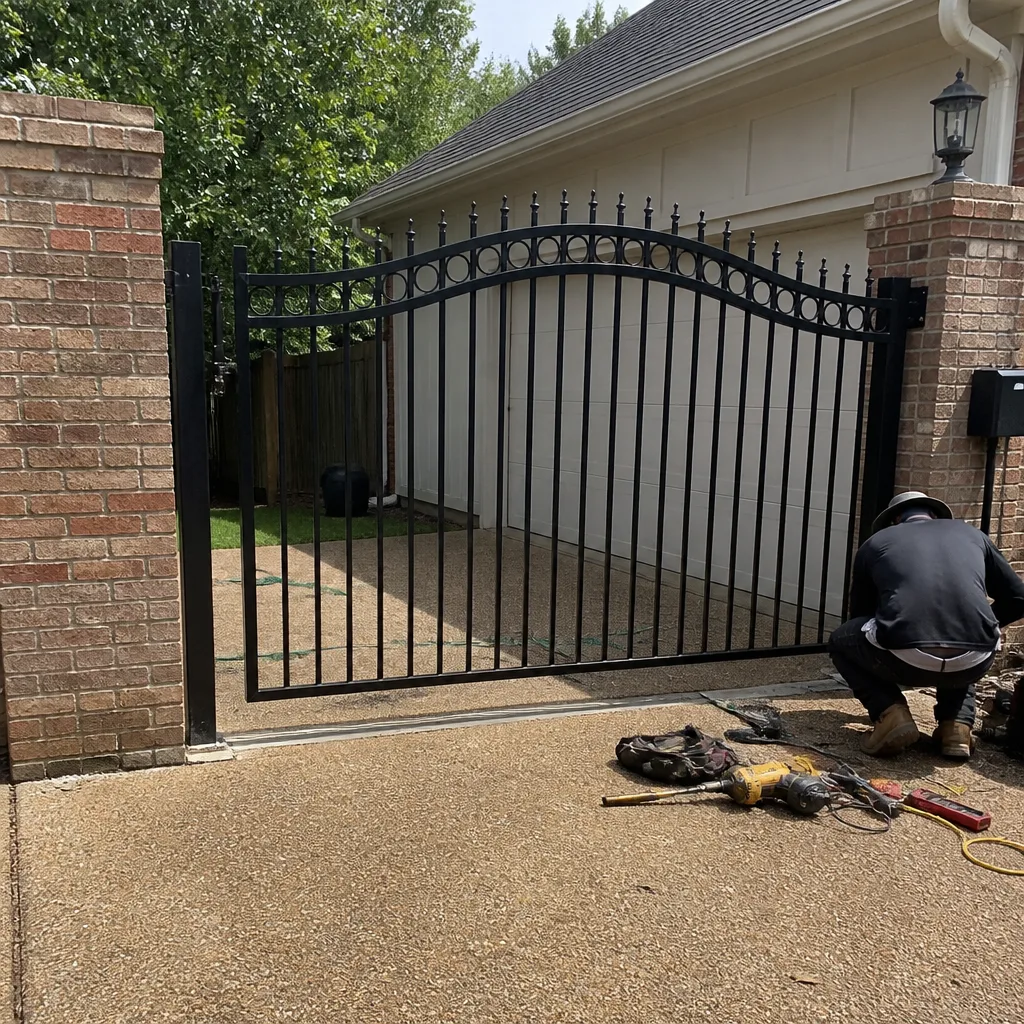 After
After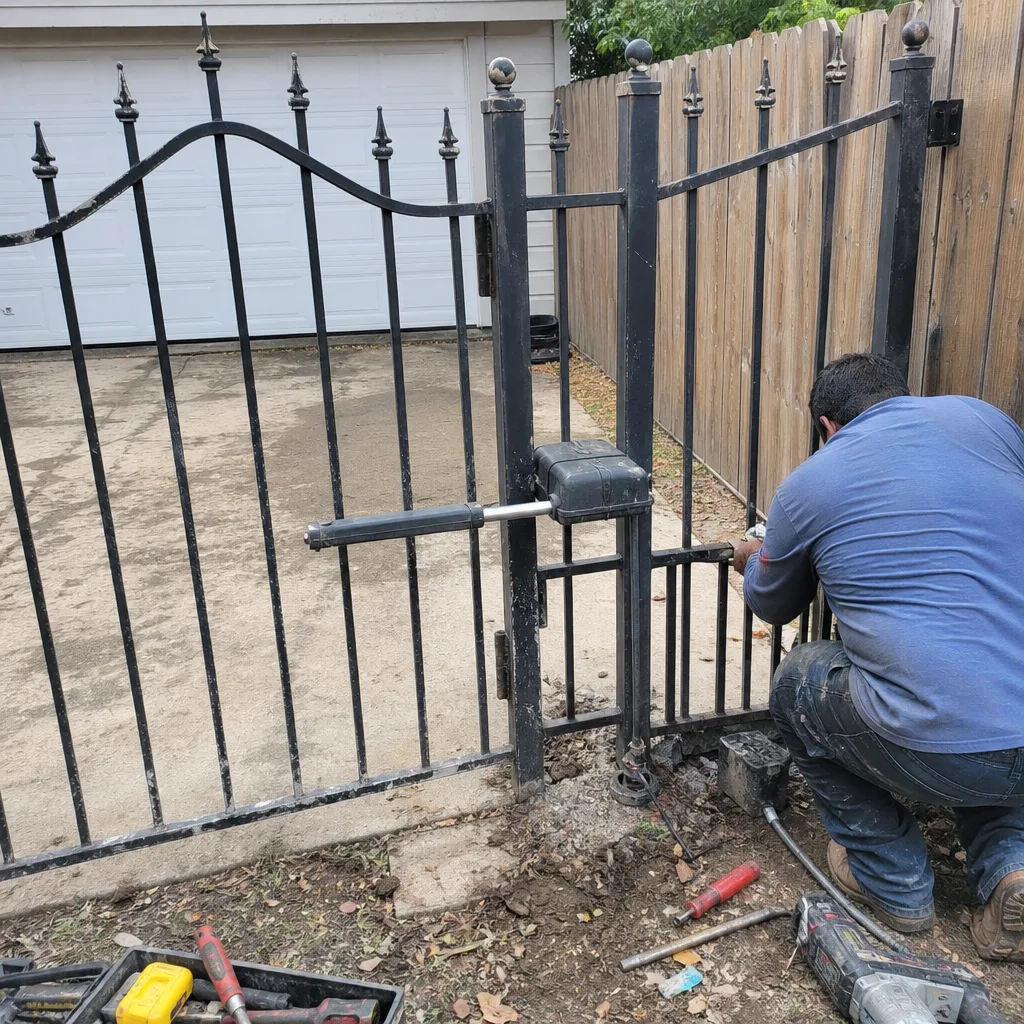 Before
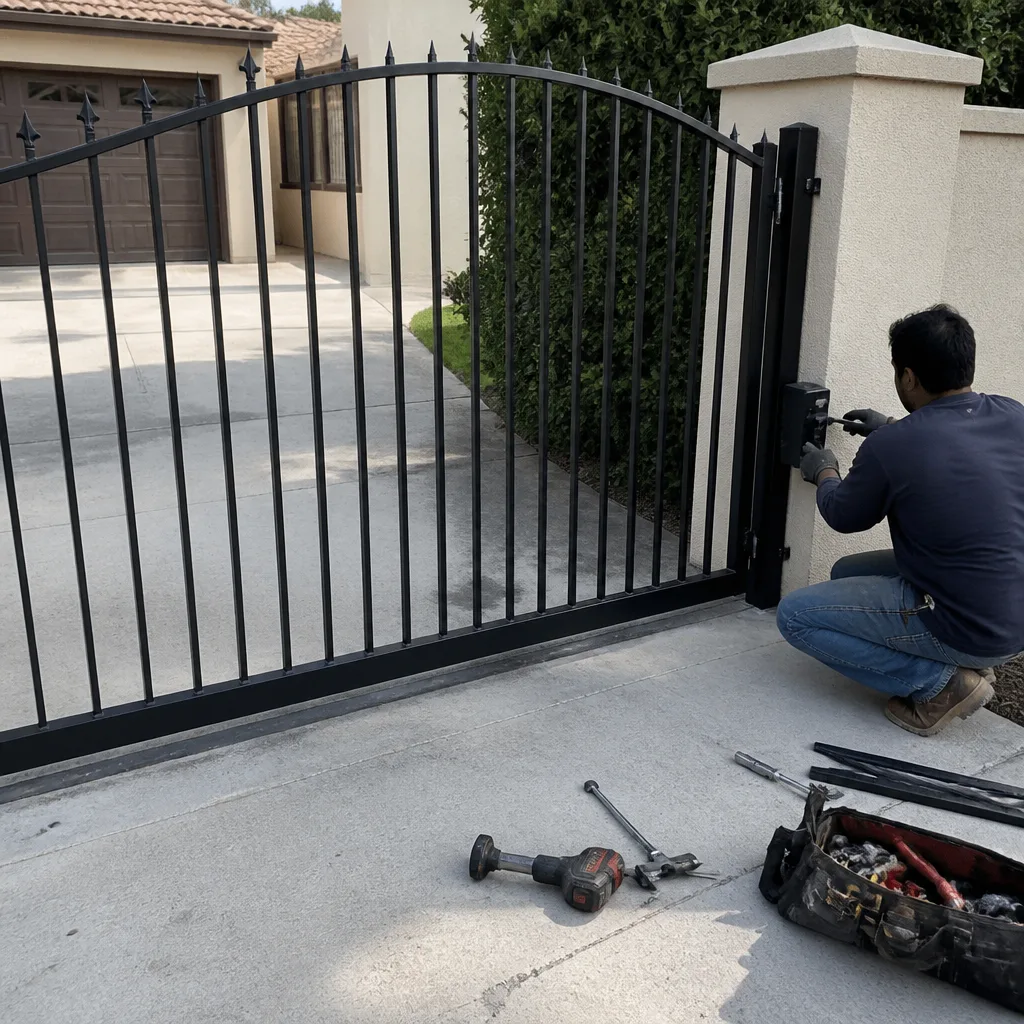 After
After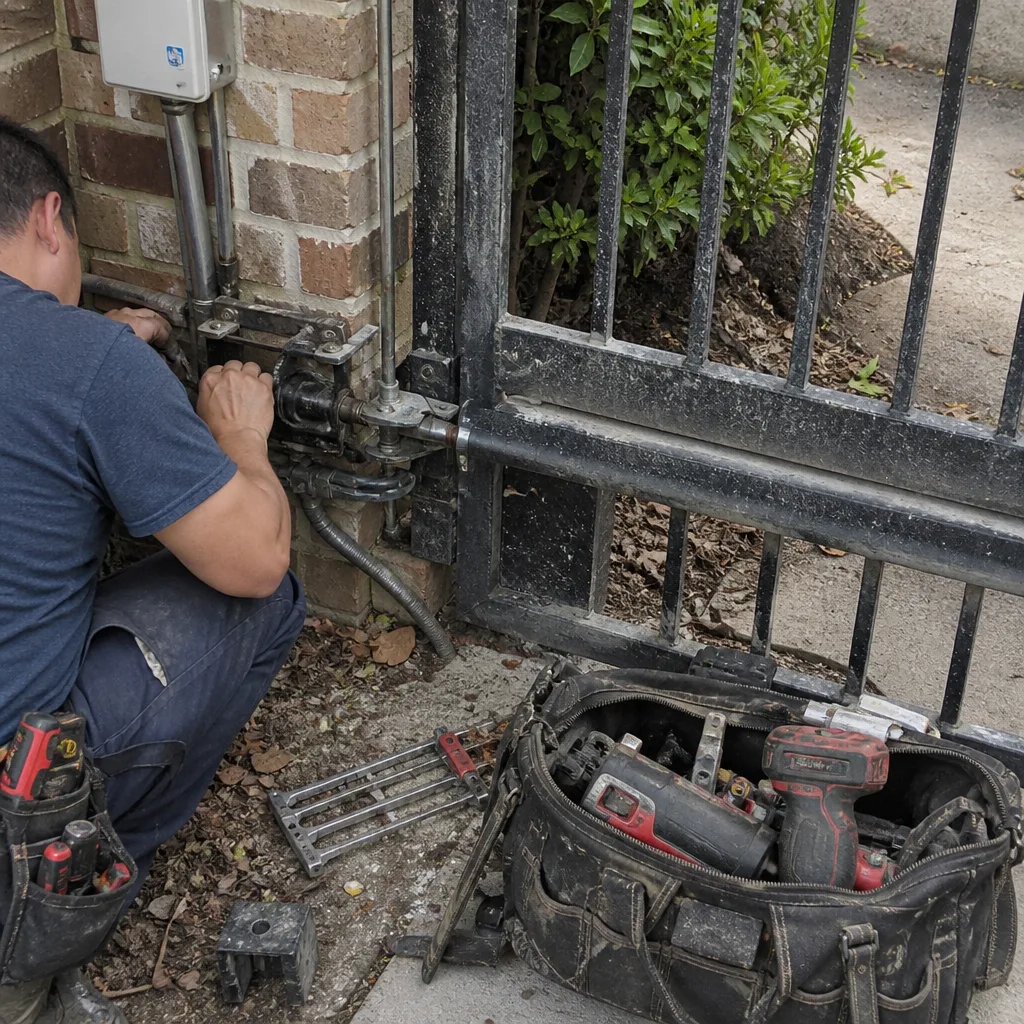 Before
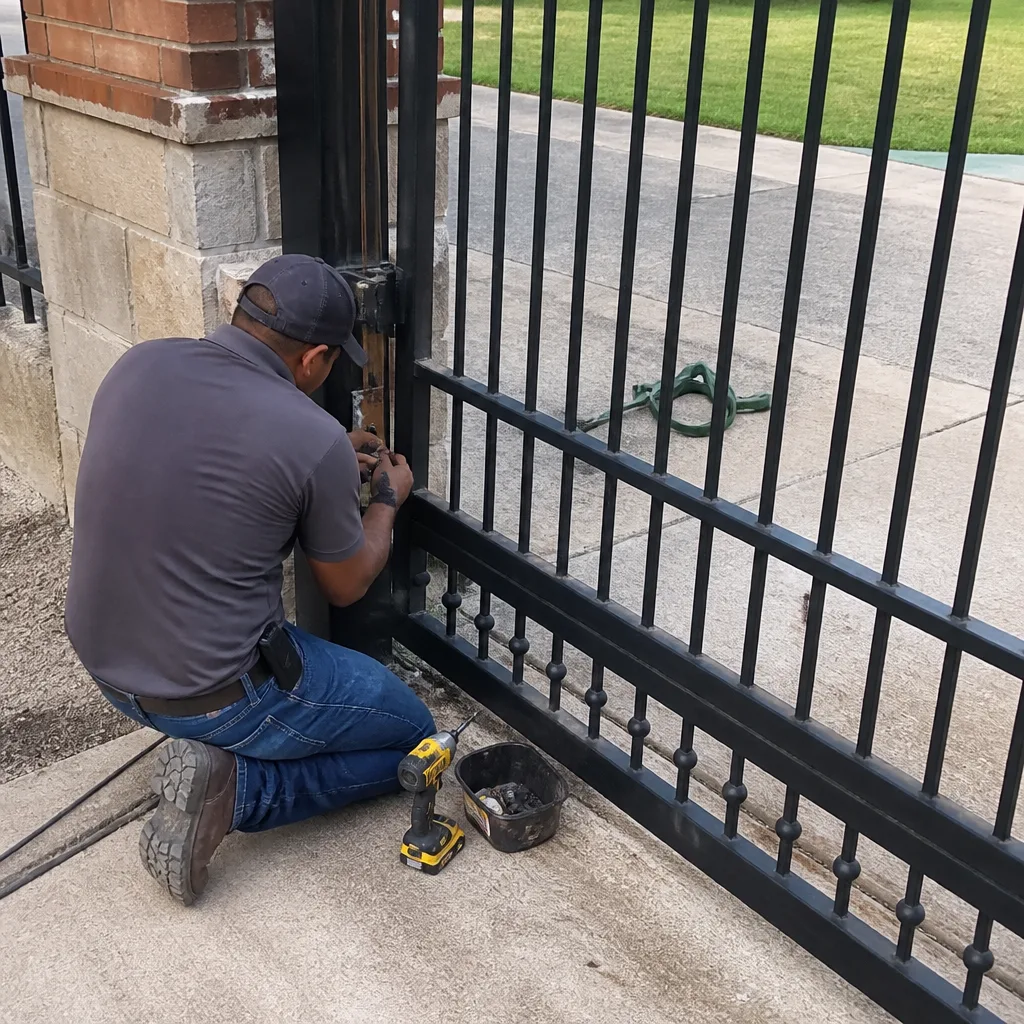 After
AfterDIY vs Professional Gate Repair: The Sugar Land Homeowner’s Decision Guide
A gate remote that stops working after a battery swap is not the same thing as a gate that reverses direction mid-swing. One is a five-minute fix. The other is a vehicle-entrapment hazard waiting for a child on a bicycle. The real question for a Sugar Land homeowner isn’t whether you’re handy enough to work on a gate. It’s whether the repair leaves your gate in a known, documented condition or in an undocumented one that becomes some future technician’s expensive mystery. This guide walks through which gate repairs you can safely do yourself, which ones need a camera and a notebook if you attempt them, and which ones you should never touch without a professional.
Quick Answer
Most Sugar Land homeowners can safely handle four gate tasks: lubrication, remote pairing, debris clearance, and battery swaps. Limit-switch adjustments and photo-eye realignment are doable but only if you photograph and document the before and after positions. Operator replacement, anything touching the electrical service feed, and any work on a gate with vehicle-detection loops should be left to a licensed professional. When you factor in misdiagnosis, part misidentification, and the cost of a second service call to undo a DIY attempt, professional repair usually costs less than the DIY route for anything beyond those first four tasks.
Table of Contents
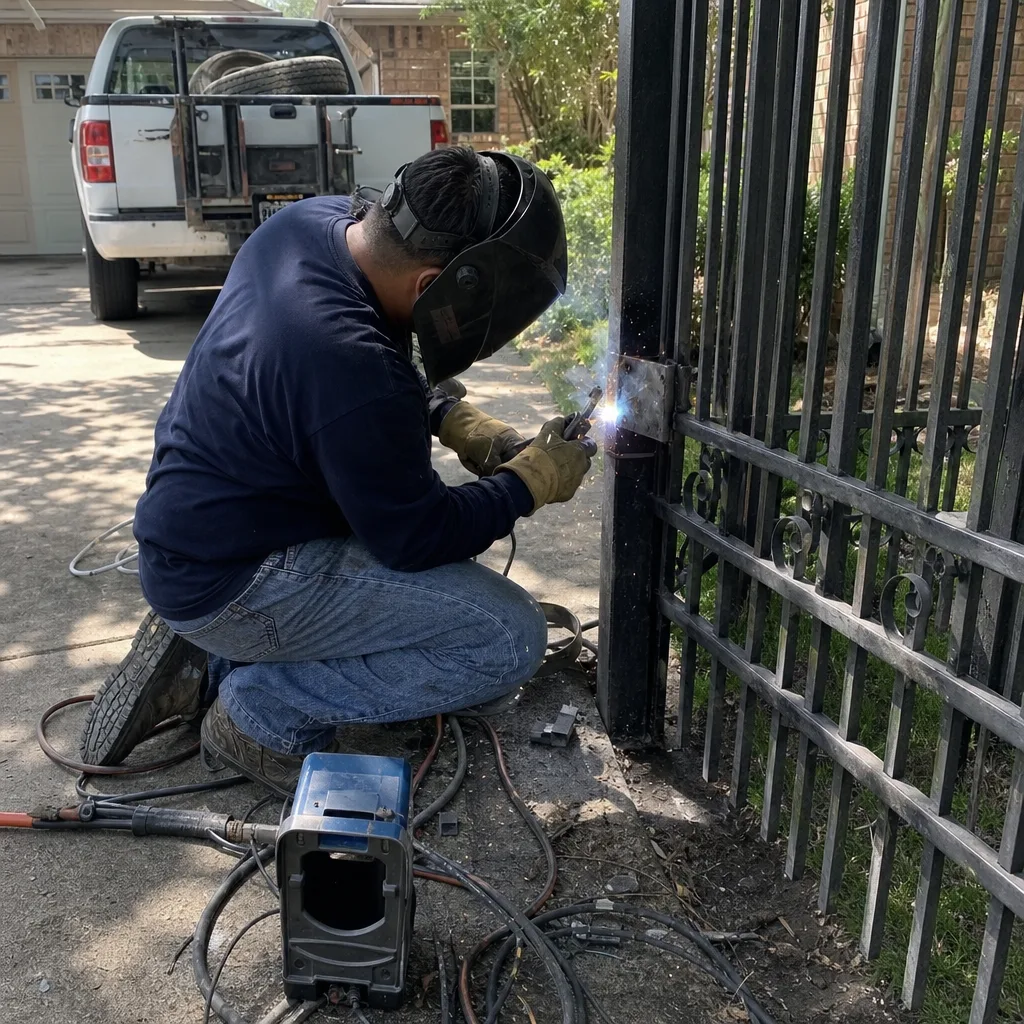
- The Documentation Divide: Why the DIY Question Is Really About Records
- Safe DIY Repairs: Four Tasks You Can Do Without Creating Problems
- The Middle Zone: Repairs You Can Do If You Document Them
- Professional-Only Repairs: Liability, Code, and Entrapment Risk
- The True Cost Comparison: DIY vs Professional in Sugar Land
- How to Document a DIY Repair So It Doesn’t Void Your Warranty
- Sugar Land-Specific Factors: Clay Soil, Heat, and Humidity
BeforeAfterThe Documentation Divide: Why the DIY Question Is Really About Records
Adrian Vance started doing gate work in 2014 on commercial access-control sites, where every wiring change and every limit-switch adjustment had to be written down. A commercial property’s gate log is a legal document. If the gate hits a car three months later, the property owner’s attorney wants to know who set the limits and whether the technician recorded the before and after values. That habit carried over into residential work at Vance Gate Repair Sugar Land, and it shapes how we think about the DIY question and our Gate Repair services.
A homeowner who re-programs their gate remote has done a DIY repair. The remote works, the gate opens, and there’s no record of anything changing because nothing meaningful changed. A homeowner who adjusts limit switches without recording the before and after positions has created a future technician’s worst-case scenario: a gate that was adjusted at an unknown date to an unknown setting for an unknown reason.
That undocumented adjustment becomes a diagnostic dead end. If the gate starts behaving strangely six months later, the next technician has to figure out whether the problem is the limit switch, the motor, the control board, or that unrecorded adjustment from months ago. Every diagnostic hour spent reconstructing history is an hour you pay for. The documentation question isn’t about being organized. It’s about whether your repair leaves the gate in a state that a future technician can understand without interviewing you about what you did while standing in your driveway in July.
This is where the DIY-versus-professional decision actually lives. Not in skill level. In whether the repair leaves a paper trail.
Safe DIY Repairs: Four Tasks You Can Do Without Creating Problems
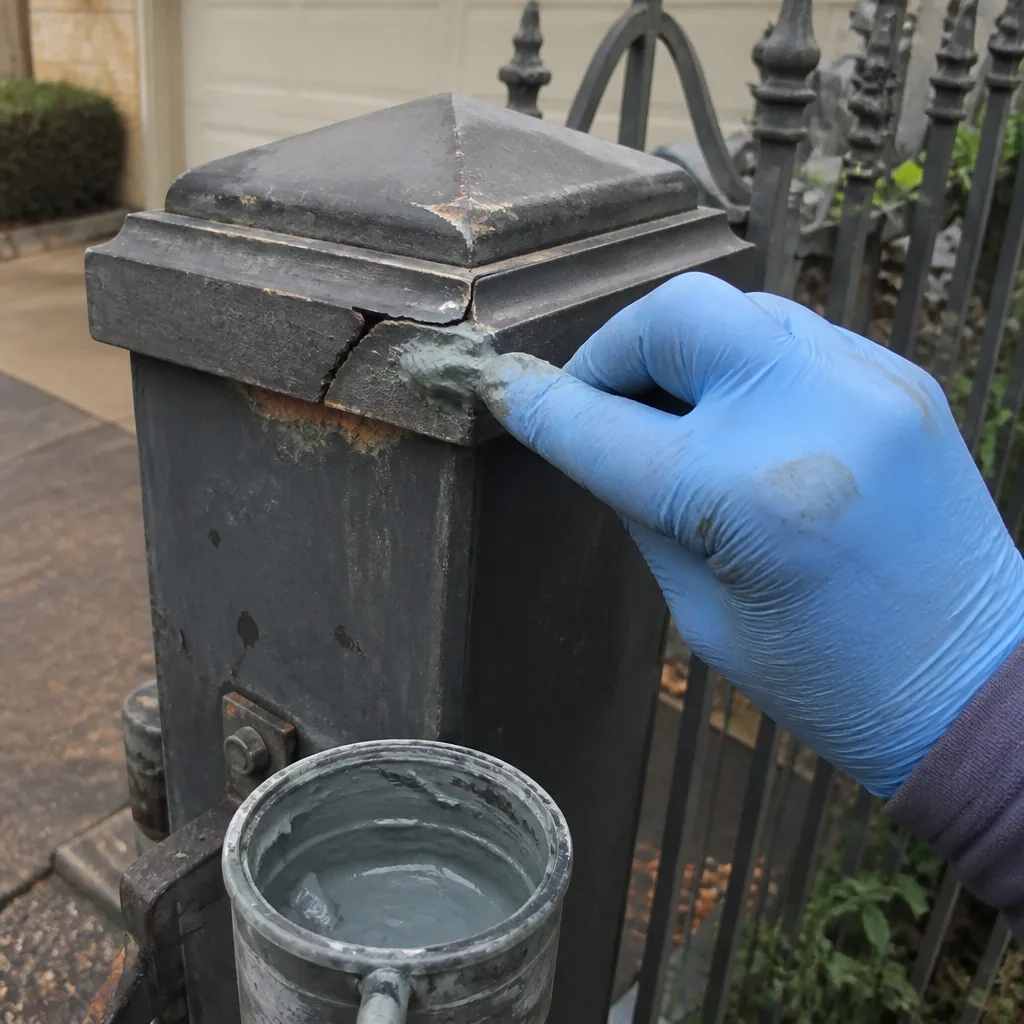
Some gate repairs are genuinely safe for homeowners to perform, not because they’re trivial but because they don’t change any calibrated setting, don’t touch line voltage, and don’t create a condition that a future technician will need to reverse-engineer. Here are the four tasks we tell Sugar Land homeowners they can handle without hesitation.
- Lubrication. Gate hinges, wheel bearings on slide gates, and the chain or belt on some operators need periodic lubrication. In Sugar Land’s clay-heavy soil, slide-gate wheels pick up fine dust that works into bearings and accelerates wear. A lithium-based grease on hinges and wheels, applied every three to four months, extends hardware life. This changes nothing electronically. It’s purely mechanical.
- Remote pairing. Most gate remotes pair through a learn button on the operator control board, and the process is documented in the manual. If you lose a remote or buy a replacement, this is a legitimate DIY task. The worst-case outcome is pairing fails and you try again. It doesn’t affect the gate’s travel limits, force settings, or safety circuits.
- Debris clearance. Slide gates in Sugar Land accumulate leaves, mud, and gravel in the track, especially after heavy rains. Clearing the track of debris is routine maintenance, not repair. It requires no tools beyond a broom and maybe a garden hose. But it requires consistency: a track clogged with debris forces the motor to work harder, which shortens its life.
- Battery swaps. Gate operator batteries that back up the system during power outages need replacement every two to three years. This is a simple, safe swap that doesn’t involve the electrical feed. The battery is typically a sealed lead-acid unit that unplugs and plugs back in. No calibration involved.
These four tasks share one characteristic: they change nothing that the gate’s control system depends on. There’s no limit switch position, no force setting, no photo-eye alignment, no wiring change. You could do any of them wrong and the gate would still behave exactly the way it did before, which makes them safe to learn on.
The Middle Zone: Repairs You Can Do If You Document Them
Then there’s the gray area. These repairs are technically within a capable homeowner’s ability, and we’re not going to pretend otherwise. A homeowner with a multimeter, a phone camera, and patience can adjust a limit switch or realign a photo-eye. The issue isn’t competence. It’s record-keeping.
A limit-switch adjustment changes where the gate stops in its travel. That setting matters for safety: if the gate closes past its stop point, it can crush a wheelie bin, or worse. If it stops short, it leaves a gap that defeats the purpose of having a gate at all. When you adjust a limit switch, you need to record the before position, the after position, and why you made the change. That’s three pieces of information, and most DIY attempts capture none of them.
A photo-eye, the infrared beam that stops the gate if something crosses the path, is similar. Misalignment is common, especially on gates in Sugar Land where clay soil shifts and posts move slightly over time. Realigning a photo-eye is straightforward: loosen the mount, adjust until the indicator light shows a solid signal, tighten. But if you don’t photograph the alignment before and after, and if you don’t note which direction the misalignment pointed, the next person to work on that gate has no baseline.
In our experience, roughly half the gates we’re called to in Sugar Land have had a previous adjustment that nobody recorded. The homeowner doesn’t mention it because it was six months ago and they’d forgotten. The gate misbehaves in a way that only makes sense once we figure out that a limit switch was nudged by a few degrees during a weekend project. That discovery costs time, and time is money on a service call.
So if you’re going to do these repairs yourself, do them like a technician would: photograph the before state, write down the setting you’re changing, photograph the after state, and keep those photos somewhere you can find them. It’s not about gatekeeping. It’s about leaving a trail that the next person can follow without guessing.
Professional-Only Repairs: Liability, Code, and Entrapment Risk
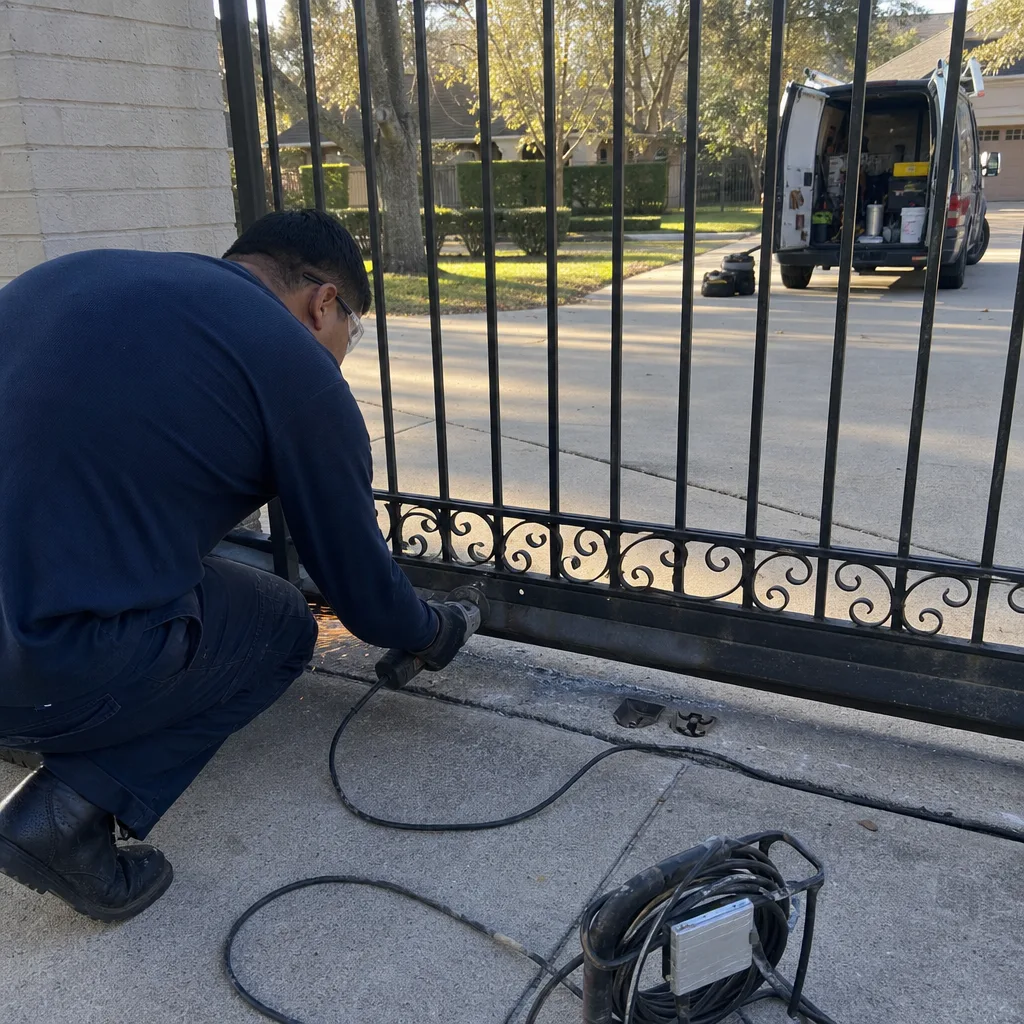
The third category is different. These repairs require professional involvement not because they’re especially difficult but because of liability and code compliance. Some of this is a matter of law, some a matter of physics, and all of it matters if something goes wrong.
- Anything touching the electrical service feed. Gate operators run on line voltage, typically 120V or 240V, and the wiring between your breaker panel and the operator is governed by the National Electrical Code. Working on that feed without a licensed electrician or a gate technician who understands the code creates a fire hazard and a code violation. If a DIY wiring change causes a fire, your homeowner’s insurance may deny the claim. This isn’t a skill issue. It’s a legal one.
- Operator replacement on gates with vehicle-detection loops. Vehicle-detection loops are the wire loops buried in the driveway that tell the gate a car is present. They’re calibrated to the specific operator’s loop-detector sensitivity. Replacing an operator means reconnecting and recalibrating those loops. If they’re set wrong, the gate may close on a car, which is a property-damage and personal-injury liability that a homeowner should not carry.
- Any work involving the entrapment-sensing system. UL 325, the safety standard for gate operators, requires that operators detect and respond to obstructions. That means force settings on the motor, photo-eyes, and contact edges all work together as a system. Changing one part without understanding how it interacts with the others can leave a gate that looks fine but doesn’t stop when it should.
We’ve seen the aftermath of this third category in Sugar Land more than once. A homeowner replaced a gate motor himself, wired it wrong, and called us when the gate started opening when it should close. The fix required tracing every wire back to the board, identifying the incorrect connection, and rewiring the operator from scratch. The cost of the original DIY attempt, plus the cost of our service call to undo it, exceeded what a professional replacement would have cost in the first place.
This is the category where the documentation habit matters most. A professional leaves behind a record of what was changed, what the settings were, and what the wiring looked like when the job was done. You can hold a company accountable to that record. You can’t hold yourself accountable to a memory.
The True Cost Comparison: DIY vs Professional in Sugar Land
The sticker-price comparison between DIY and professional gate repair looks favorable to DIY. A replacement limit switch costs $12 to $30 from a parts supplier. A photo-eye costs $40 to $90. A swing-gate arm bracket might run $60 to $120. Compare those numbers to a service call at $95 to $150 for the visit plus $80 to $120 per hour for labor, and DIY seems like an obvious win.
But the sticker price isn’t the cost. Here’s what the full comparison looks like.
- Misdiagnosis. You replace the battery. The gate still doesn’t work. You replace the remote. Still doesn’t work. You replace the circuit board at $300. Still doesn’t work. Each of those parts was a guess, and each guess cost money. A professional diagnostic identifies the failed component before any parts are ordered.
- Part misidentification. Gate operators from FAAC, BFT, Linear, and Viking use different control-board voltages, different connector pinouts, and different motor windings. A homeowner ordering a replacement board by model number gets it right. A homeowner ordering by “it looks like the one in the YouTube video” doesn’t. Wrong parts either don’t fit or fit and fail catastrophically.
- The second service call. This is the line item nobody budgets for. A DIY attempt that doesn’t work becomes a professional service call. The technician now has two problems: the original fault and the changes the homeowner made trying to fix it. Every minute spent undoing a DIY attempt is billable. In Sugar Land, a medium-complexity gate repair that would have cost $300 to $500 as a clean professional job costs $500 to $800 when the technician has to first reverse a DIY attempt.
Here’s a specific example we’ve seen repeatedly in Sugar Land neighborhoods like First Colony and Riverstone. A slide-gate owner hears a grinding noise, assumes the wheels are bad, replaces the wheels for $80, and the noise continues. The actual problem is a worn chain tensioner, a $40 part that takes 45 minutes to replace. The DIY route cost $80 in parts, two hours of the homeowner’s time, and the $150 service call that eventually fixed the actual problem. The professional route would have been $150 for the call plus $40 for the part. The DIY attempt cost the homeowner $80 and added two weeks of living with a noisy gate.
That’s the true cost equation. DIY wins when the fix is certain. Professional wins when the diagnosis isn’t.
How to Document a DIY Repair So It Doesn’t Void Your Warranty
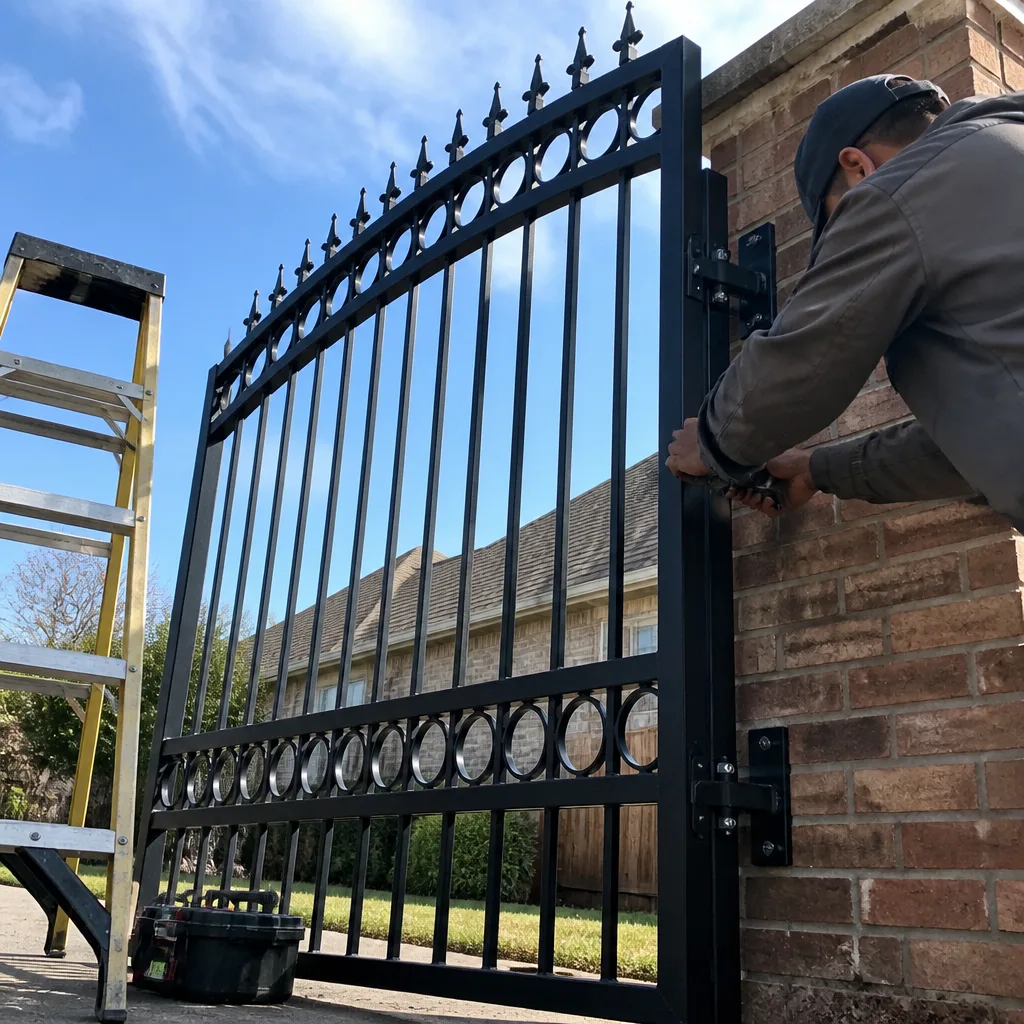
If you’re going to do a DIY gate repair, you should document it the way a professional would, as outlined in our Gate Repair Maintenance Checklist for Sugar Land Homeowners. This protects your gate’s warranty, helps the next technician diagnose any follow-up problem, and gives you a record if you sell the house and the new owner asks about the gate.
Here’s the specific documentation routine we recommend.
- Photograph the gate before you touch anything. Take wide shots of the operator, the gate in its open and closed positions, and the area you’ll be working on. These are your before photos.
- Write down the make and model of the operator. Find the data plate on the operator itself, not the remote. Write down the manufacturer name, the model number, and the serial number if visible. This matters because parts compatibility varies even within a brand: a FAAC 390 and a FAAC 400 use different boards, and ordering the wrong one is a $200 to $400 mistake.
- Note the exact change you’re making. Before you turn a screw or swap a part, write down what you’re changing and why. “Replacing photo-eye because gate intermittently reverses” is a real note that a future technician can use.
- Photograph the after state. Same angles, same framing. If you adjusted a limit switch, photograph the adjustment screw in its new position. If you swapped a part, photograph the installed part with the part number visible.
- Keep the photos and notes together. A folder on your phone, a note in your home-maintenance app, a printed sheet in the garage. It doesn’t matter where. It matters that it exists and that you can find it when a technician asks, “Was this gate always set like this?”
This routine doesn’t take more than ten minutes, and it’s the difference between a repair that’s recoverable and one that’s a black box. It also protects you if the gate is under warranty: most warranty claims fail not because the part was defective but because the repair history is a blank. A documented DIY repair, with photos and notes, shows the manufacturer that the gate was maintained properly, which keeps your warranty intact for the parts you didn’t touch.
If you want to see what a professional documentation record looks like, take a look at our Gate Repair in Sugar Land page. Every job we complete includes a photo log of what was found, what was adjusted, and what was replaced, left with the homeowner and filed in the job record. That’s what the documentation habit looks like when it’s done professionally.
Sugar Land-Specific Factors: Clay Soil, Heat, and Humidity
Sugar Land isn’t a generic suburb, and its gates don’t fail in generic ways. The local conditions shape which repairs are more common and which DIY attempts are more likely to go wrong.
First, the soil. Sugar Land sits on gumbo clay that expands and contracts with moisture. That movement shifts gate posts, which changes gate alignment, which throws off limit switches and photo-eyes. A gate that worked perfectly in March can be binding against its post by August, not because anything broke but because the ground it sits on moved a quarter inch. This is the most common gate problem we see in Sugar Land, and it’s the one homeowners least often identify correctly. They think the motor is failing. The motor is fine. The post moved.
Second, the heat. Sugar Land summers regularly hit 95°F with humidity to match. Heat degrades electrical components faster: capacitor failures, solder-joint cracks, and heat-related motor winding failures all peak in July and August. A DIY repair done in the heat of July, with sweat dripping into the control box, is a repair done under conditions that produce mistakes. We do emergency work in that heat too, but we do it with the training to recognize heat-related failure modes before they become callbacks.
Third, the humidity. Outdoor electrical enclosures in Sugar Land live in a humid environment year-round. Corroded terminals, rusted mounting brackets, and moisture-damaged boards are standard. When a homeowner opens a control box and sees corrosion, the DIY instinct is to clean the terminals with a wire brush and put everything back. The professional response is to check whether the corrosion indicates water intrusion and, if so, to fix the gasket or the enclosure seal so the problem doesn’t return. The difference is between fixing a symptom and fixing a cause.
These local factors also affect part availability. Standard operator brands like FAAC and BFT are well-stocked in Houston-area supply houses, but obscure or discontinued parts are not. A homeowner who orders online waits five to seven business days for delivery. A professional who installs and services gates in Sugar Land day after day knows which suppliers stock what and can usually get the part the same day or next day. When your gate is stuck open and your dog is making a break for it, that time difference matters.
Common Mistakes to Avoid
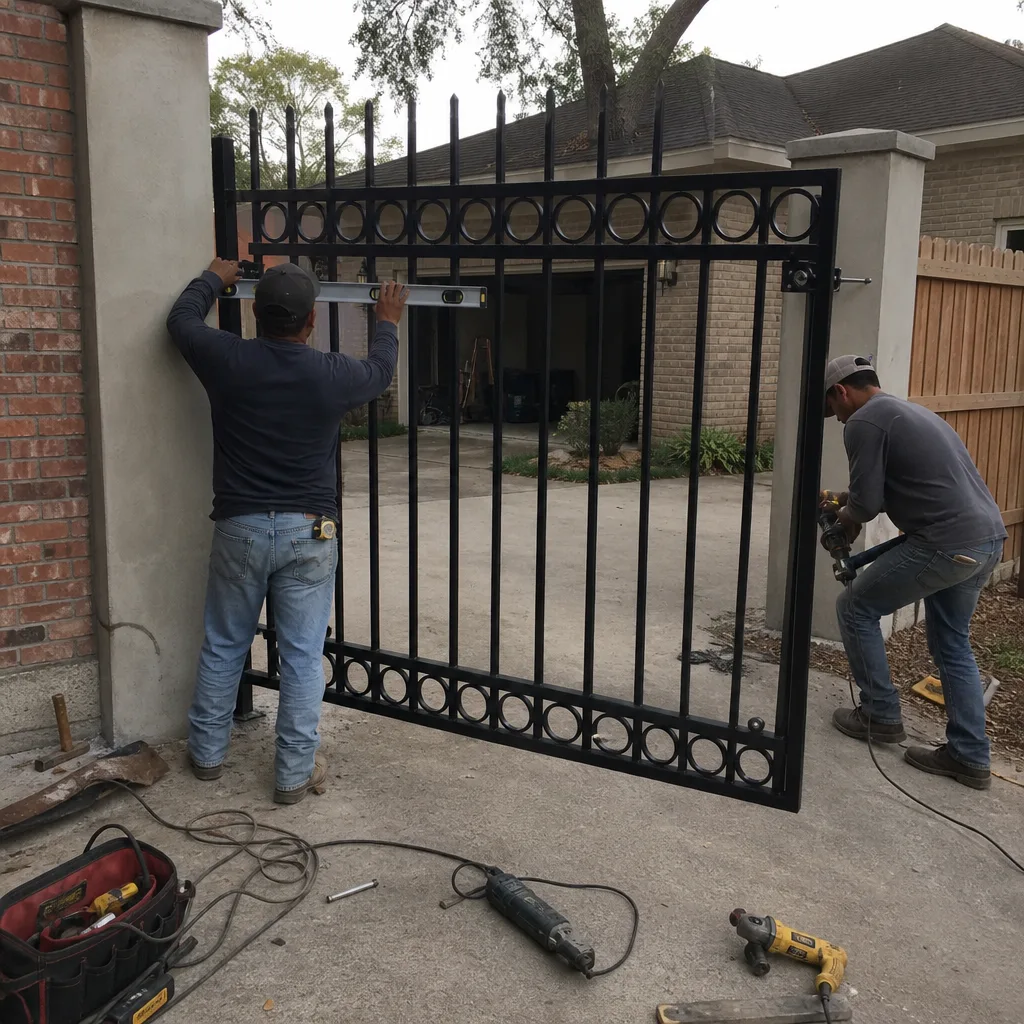
- Adjusting the limit switch without recording the before position. You’ve changed a setting that affects gate safety, and you have no record of what it was. If the gate misbehaves later, you’ve added diagnostic friction to your own repair.
- Misdiagnosing the motor when the problem is the post. In Sugar Land’s clay soil, a binding gate is usually a shifted post, not a failing motor. Replacing the motor won’t fix a post that’s moved, and now you’ve spent $400 to $800 on the wrong repair.
- Ordering a control board by visual match instead of model number. Boards from the same brand can look identical and be electrically incompatible. Always order by the model number on the operator’s data plate, not by what the part looks like in an eBay photo.
- Rewiring the operator without photographing the original connections. The single most expensive DIY mistake we see. A miswired operator can fry a new board the moment power is applied. The fix is always more expensive than the original repair would have been.
- Skipping the photo-eye test after realignment. A photo-eye test isn’t just pointing the beam and seeing the light turn on. It’s placing an obstruction in the path and confirming the gate stops. Many DIY realignments pass the light test and fail the obstruction test.
- Cleaning corrosion without addressing the moisture source. Cleaning corroded terminals makes the gate work today. It doesn’t stop the corrosion from coming back next month. Fix the water intrusion, or you’ll be cleaning those terminals again.
- Not checking whether the gate is under warranty before opening the control box. Some manufacturer warranties are voided by unauthorized repair. If your gate operator is under warranty, doing your own repair can turn a free replacement into a paid one. Check your warranty terms before you pick up a screwdriver.
When to Call a Professional
Call a professional when the gate’s behavior is erratic and you can’t explain it in one sentence. Call a professional when the repair involves line voltage, the operator, the vehicle-detection loop, or the entrapment-sensing system. Call a professional when you’ve already attempted a repair and the gate is worse than it was before you started. Call a professional when the gate is stuck in a position that blocks a vehicle or creates a security gap for your property, and you need it fixed today. Vance Gate Repair Sugar Land offers free estimates for homeowners in Sugar Land. The phone number is (346) 295-3437, and a live person answers 24/7. For broader context on what professional gate work includes, see our Vance Gate Repair Sugar Land home page or the Gate Motor & Opener in Sugar Land page.
Frequently Asked Questions
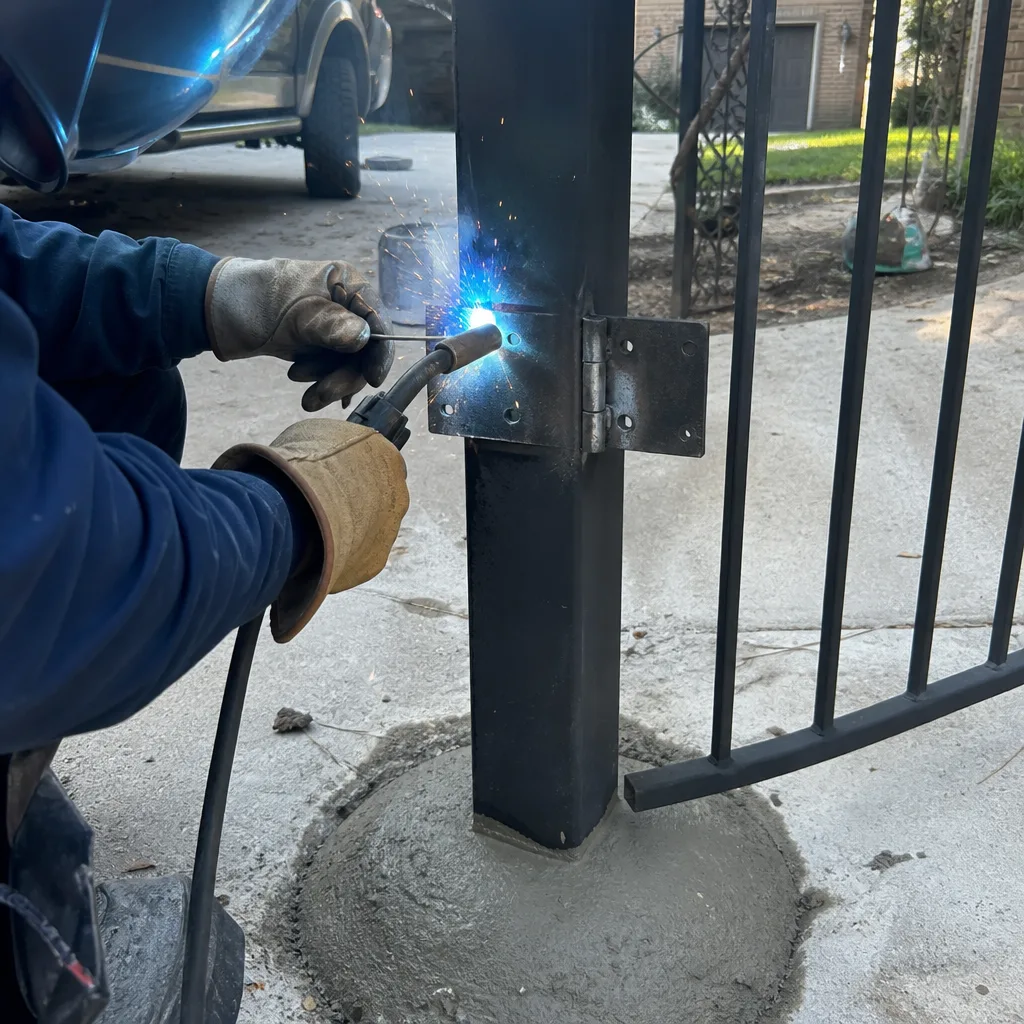
Yes, for remote pairing, battery swaps, and lubrication, but not for anything involving line voltage, the motor, the control board, or the entrapment-sensing system. The first category is safe and doesn’t change calibrated settings. The second category creates liability and safety risks that require professional handling. Call (346) 295-3437 if you’re unsure which category your problem falls into.
In Sugar Land, a DIY attempt that doesn’t work typically costs $80 to $300 in parts you didn’t need plus a $150 to $300 professional service call to fix the original problem and undo the DIY changes. That’s $230 to $600 total, compared to $150 to $500 for a professional repair that would have been done right the first time. The DIY route only wins when the diagnosis is certain.
Lubrication, remote pairing, debris clearance, and battery swaps. These four tasks change nothing in the gate’s control system, so even a mistake leaves the gate functioning exactly as it did before. Anything beyond these four tasks should either be carefully documented with photos and notes or handled professionally.
Photograph the before state, write down the exact change you’re making and why, photograph the after state with the same framing, and keep those photos and notes in a place you can find them. This documentation preserves your warranty, helps the next technician diagnose follow-up problems, and creates a record you can pass to a future homeowner.
Sugar Land’s clay soil expands and contracts with moisture, which shifts gate posts and throws off limit-switch settings and photo-eye alignment. The limit switch isn’t failing; the ground it sits on is moving. A professional can distinguish between a post-shift problem and a genuine operator fault, which saves you from replacing a motor that was never the problem.
Yes. Every job starts with a written price that’s handed over before work begins, and every completed job includes a photo log of what was found, what was adjusted, and what was replaced. That’s standard practice under the Haven Standard, and it means you know exactly what you’re paying before anyone picks up a tool.
The Bottom Line
The DIY-versus-professional question isn’t about whether you can do the work. It’s about whether the repair leaves your gate in a documented, known state or in an undocumented condition that becomes a diagnostic puzzle for the next technician. Four tasks are safe for any Sugar Land homeowner: lubrication, remote pairing, debris clearance, and battery swaps. Limit-switch and photo-eye work is doable if you photograph and document every change. Operator replacement, electrical work, and entrapment-sensing system work belong with a licensed professional, not because you’re not smart enough but because the liability and code requirements sit with the person who does the work. If you’re weighing a gate repair in Sugar Land and want a written price and a clear record, explore more guides & resources or call Vance Gate Repair Sugar Land at (346) 295-3437. We’ll tell you what we found, what it costs, and what we’ll leave behind when we’re done.
Written by Adrian Vance, Owner at Vance Gate Repair Sugar Land, serving Sugar Land since 2014.